How to Install Safety Tiles Correctly
- Thomas
- 22. January 2025
Installing safety tiles is a critical step in ensuring safe, compliant conditions on playgrounds, sports facilities, outdoor fitness areas, and calisthenics parks. Proper installation minimizes injury risks, supports long-term performance, and ensures full compliance with impact-attenuation standards such as EN 1176 / EN 1177. Safety tiles can only deliver their full protective properties when installed correctly and on an appropriate, well-prepared base.
This comprehensive guide walks you step-by-step through the correct installation process—from planning and sub-base preparation to the final placement of the tiles. The FX Safety Tile by Gum-tech® serves as a practical example to illustrate proven installation methods, best practices, and common challenges in real-world projects.
Table of Contents
Why Is Impact Protection Important?
Impact-attenuating surfacing plays a crucial role in reducing the severity of injuries caused by falls. On playgrounds—where children climb, jump, and run—safety tiles are essential. But they are equally important in outdoor fitness areas, schoolyards, recreation complexes, and calisthenics parks, where joint protection, slip resistance, and reliable stability are required.
To ensure these benefits, safety tiles must be installed correctly on a suitable, properly compacted foundation. Only then can they meet certified HIC values and provide long-term performance.
What Tools Do I Need to Install Safety Tiles?
For a standard rubber tile installation, you will typically need:
- Tape measure for precise site layout
- Utility knife or carpet cutter for trimming tiles
- Level for checking the sub-base
- Rubber mallet for securing interlocking systems
- Optional: adhesive and trowel for bonding edge elements
These tools ensure accuracy, stability, and a professional installation result.
Installing Safety Tiles in 4 Simple Steps
With proper planning, installing rubber safety tiles is efficient and straightforward. Follow these essential steps:
1. Create an Installation Plan
Before installation begins, develop a detailed layout:
- Measure the surface area precisely to determine quantities.
- Define a pattern, such as half-bond or checkerboard, to maximize surface stability.
- Review connecting systems (pins, interlocks, or 3D connectors) for compatibility.
Gum-tech® offers a digital Surface Calculator to simplify planning and optimize material use, especially for complex or irregular areas.
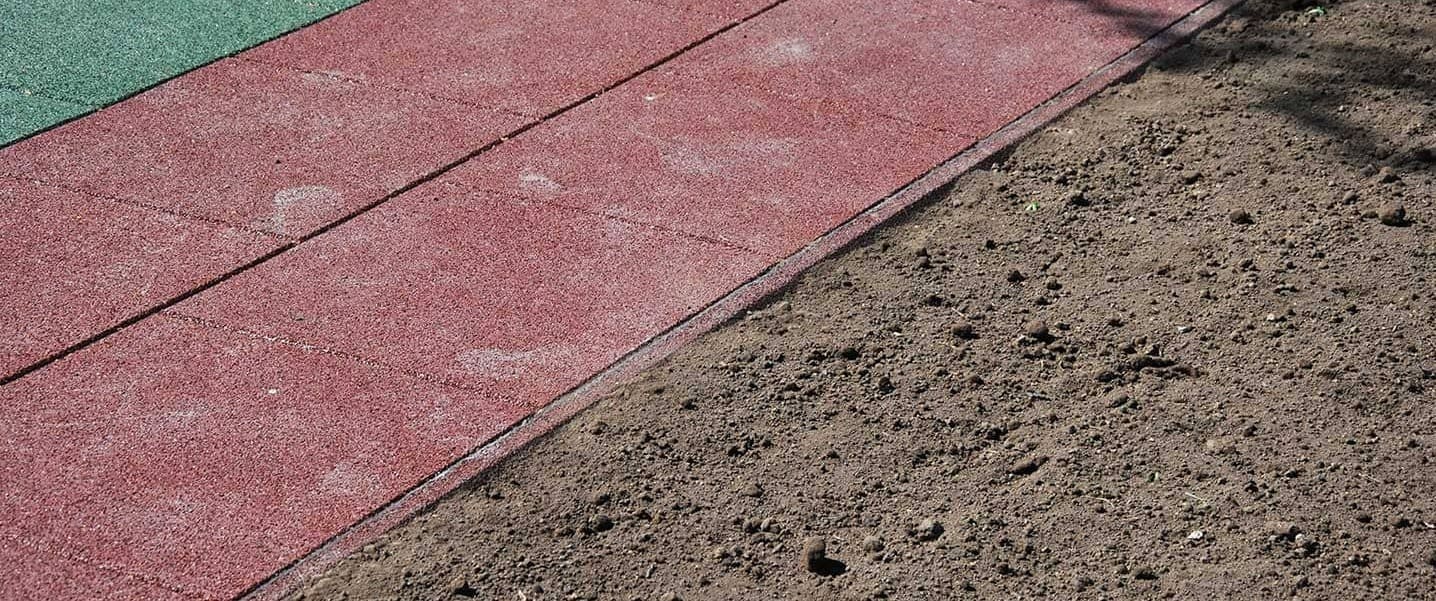
2. Prepare the Sub-base
A properly prepared foundation is the key to performance and longevity.
- Flat & stable: The base must be even and free from bumps or depressions.
- Correct material: Concrete or asphalt is ideal; alternatively, use a compacted gravel base.
- Clean surface: Remove dirt, stones, roots, and debris.
- Edge restraint: Install perimeter edging to prevent tile displacement and accommodate thermal expansion.
3: Maintain the Correct Slope
A 1–2% slope ensures effective rainwater drainage and prevents standing water. Permeable tiles with drainage channels work exceptionally well on infiltration-friendly sub-bases.
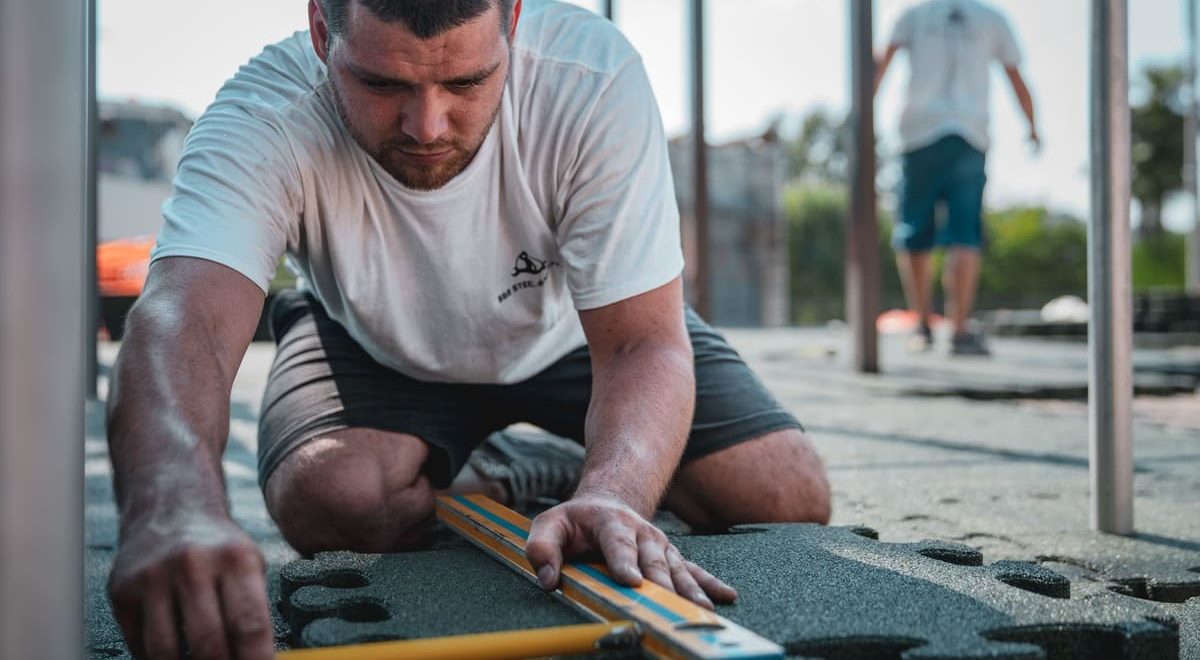
4: Install the Safety Tiles
Begin in one corner and work toward the opposite end:
- Follow a half-bond layout for maximum stability.
- Ensure each tile interlocks securely with the previous row.
- Trim tiles accurately around posts, equipment, or irregular edges.
- Inspect the full surface at the end to confirm that all joints are tight and even.
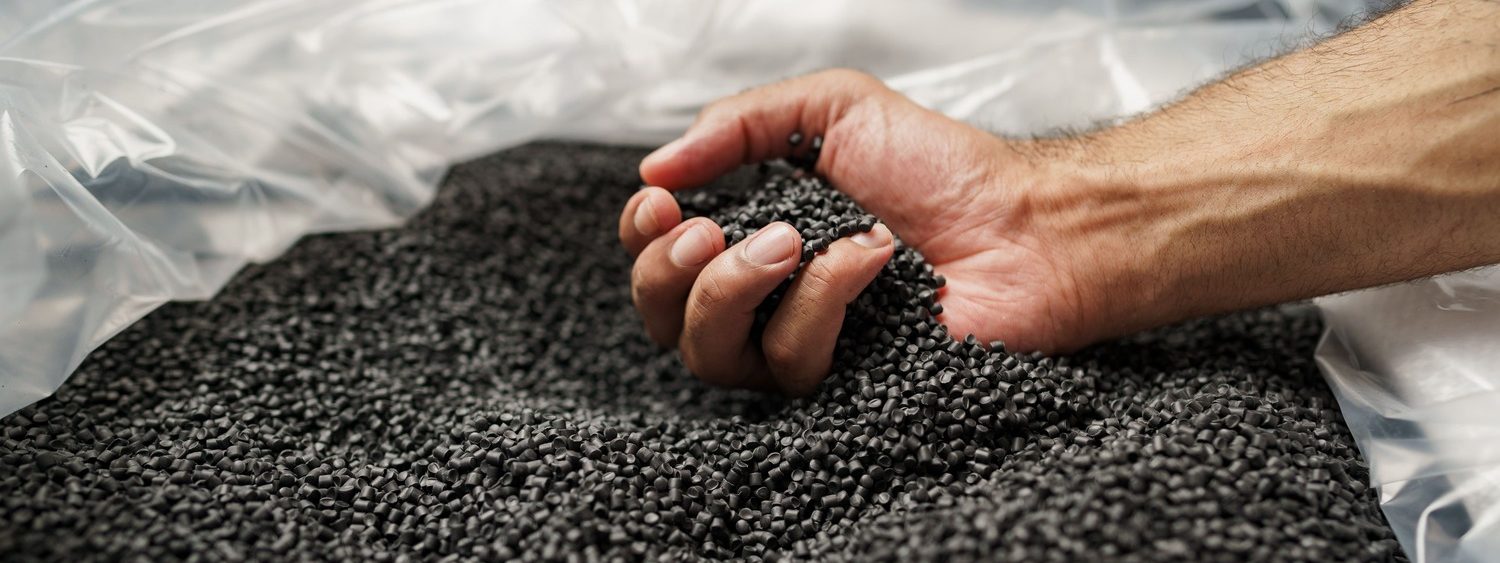
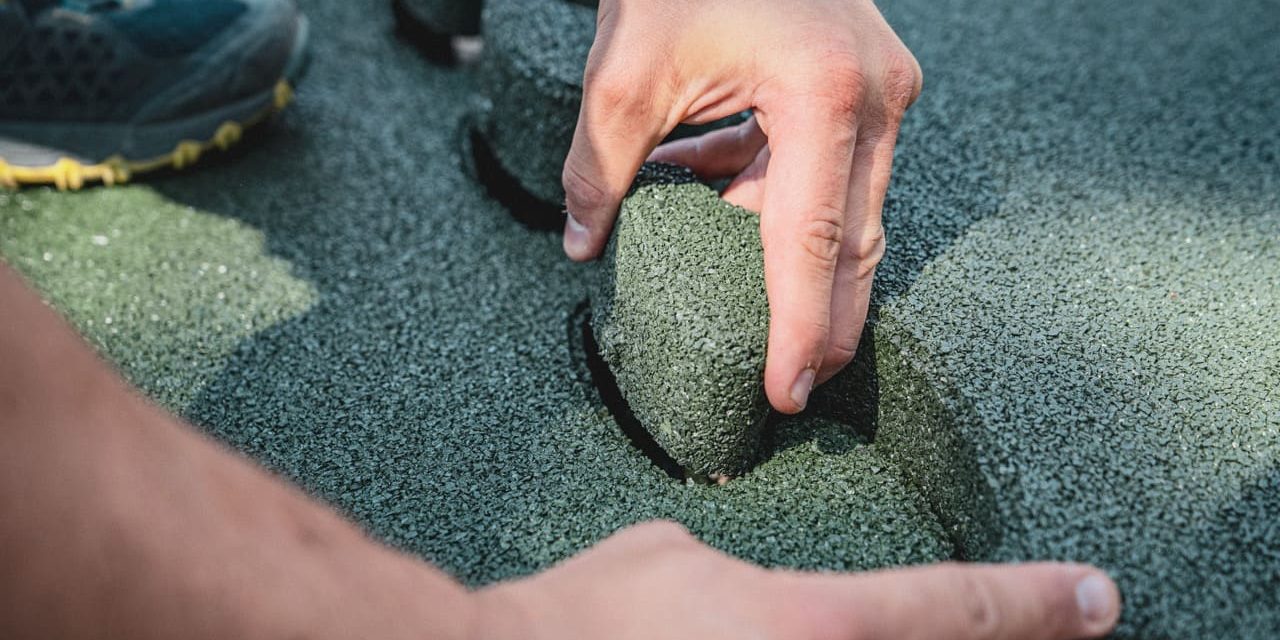
Puzzle Mat 3D® – Germany’s Easiest Safety Tile to Install
- Patented 3D connection—no connectors required
- Locks securely even on uneven ground
- Fully permeable, slip-resistant, and eco-friendly
- Installs quickly and forms a durable, unified surface
This makes Puzzle Mat 3D® one of the most efficient safety surfacing solutions for playgrounds, parks, calisthenics areas, and municipal facilities.
FAQ
Yes. Small areas can often be installed without professional help.
For public facilities, large surfaces, or complex substrates, professional support is recommended.
While Gum-tech® does not perform installations directly, we can connect you with qualified installers upon request.
- Small installations: a few hours
- Larger areas or bonded surfaces: multiple days, including curing time
Cutting instructions are shown in our installation videos.
Weitere Beiträge
Auch interessant